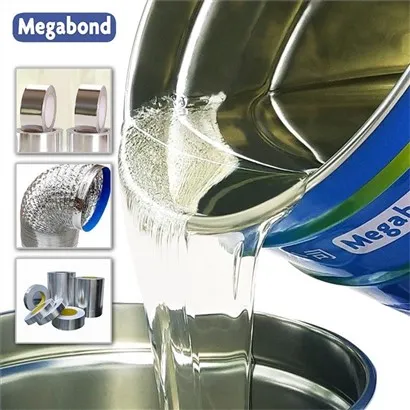
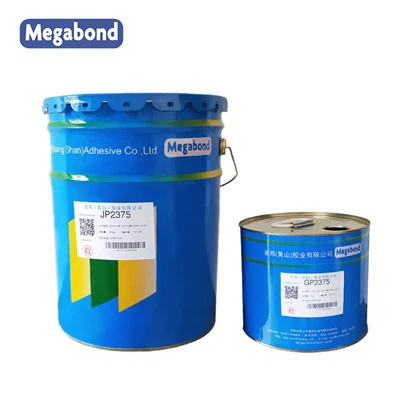
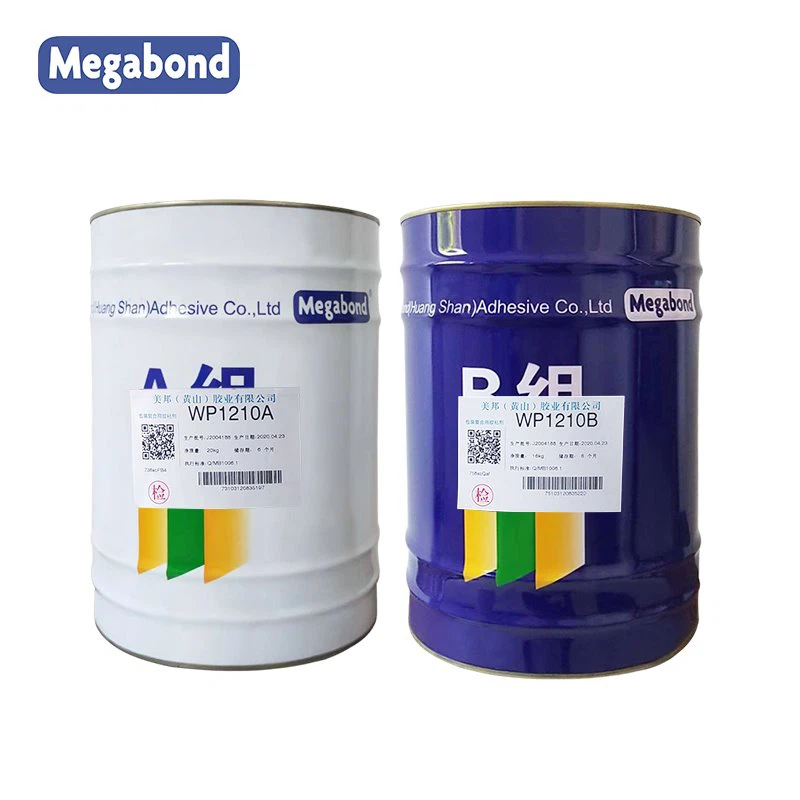
Hey there! As a supplier of Solvent Free Polyurethane Adhesive, I've seen firsthand how important it is to clean your tools properly after using this amazing product. In this blog, I'll share some tips and tricks on how to keep your tools in top shape and ensure they last for a long time.
First off, let's talk about why cleaning your tools is so crucial. Solvent Free Polyurethane Adhesive is known for its strong bonding properties and durability. However, if you don't clean your tools after use, the adhesive can dry and harden on them, making them difficult to use and reducing their lifespan. Plus, leftover adhesive can contaminate future batches of adhesive, affecting the quality of your work.
Now, let's get into the nitty - gritty of how to clean your tools. The first step is to act fast. The sooner you start cleaning, the easier it will be to remove the adhesive. As soon as you're done using the adhesive, try to wipe off as much of the excess as possible with a clean, dry cloth. This will prevent the adhesive from spreading and hardening on your tools.
For more stubborn adhesive residue, you'll need to use a suitable cleaning agent. There are a few options here. One common choice is a specialized adhesive remover. These products are designed to break down the chemical bonds in the adhesive, making it easier to wipe away. When using an adhesive remover, make sure to follow the manufacturer's instructions carefully. Wear gloves and work in a well - ventilated area to avoid any potential health risks.
Another option is to use a solvent that is compatible with Solvent Free Polyurethane Adhesive. Some solvents can dissolve the adhesive without damaging your tools. However, be careful when choosing a solvent. Not all solvents are created equal, and using the wrong one can cause damage to your tools or even react with the adhesive in an unexpected way.
Let's take a look at the different types of tools you might use with Solvent Free Polyurethane Adhesive and how to clean them.
Brushes
Brushes are a common tool for applying adhesive. To clean a brush, start by wiping off the excess adhesive as mentioned earlier. Then, soak the brush in your chosen cleaning agent. Let it sit for a few minutes to allow the agent to penetrate the adhesive. After that, gently swirl the brush in the cleaning agent and use your fingers to work out any remaining adhesive from the bristles. Rinse the brush thoroughly with water and let it dry completely before using it again.

Rollers
Rollers are another popular tool. Similar to brushes, start by wiping off the excess adhesive. Then, place the roller in a container with the cleaning agent. Roll it back and forth in the cleaning agent to loosen the adhesive. You may need to use a brush or a scraper to remove any stubborn bits. Once the adhesive is removed, rinse the roller with water and dry it.
Mixing Containers
Mixing containers are essential for preparing the adhesive. After use, scrape out as much of the remaining adhesive as you can. Then, fill the container with your cleaning agent and let it soak. You can use a stir stick or a brush to agitate the solution and help break down the adhesive. Rinse the container thoroughly with water and dry it before storing it.
Nozzles and Dispensers
Nozzles and dispensers are often used for precise application of the adhesive. These can be a bit trickier to clean because of their small size and complex shapes. Start by removing any excess adhesive from the outside. Then, use a small brush or a toothpick to remove any adhesive from the inside of the nozzle or dispenser. You can also soak them in a cleaning agent for a while to dissolve the adhesive. Rinse them well and let them dry.
Now, I'd like to mention some of the Solvent Free Polyurethane Adhesives we offer. Check out our Solvent - free Polyurethane Laminating Adhesive, Solvent - free Polyether Laminating Adhesive, and Solvent - free MET Plastic Film Laminating Adhesive. These products are not only high - quality but also easy to work with when you follow the proper cleaning procedures.
Proper storage of your tools after cleaning is also important. Make sure your tools are completely dry before storing them. Store them in a clean, dry place to prevent rust or other damage. You can also use protective covers or cases for your tools to keep them in good condition.
In addition to cleaning your tools, it's a good idea to perform regular maintenance. Check your tools for any signs of wear and tear, such as frayed bristles on a brush or a clogged nozzle. Replace any damaged parts as soon as possible to ensure the best performance.
To sum it up, cleaning your tools after using Solvent Free Polyurethane Adhesive is a multi - step process that requires a bit of effort but is well worth it. By acting quickly, using the right cleaning agents, and following the proper procedures for each tool, you can keep your tools in great shape and ensure the quality of your work.
If you're in the market for Solvent Free Polyurethane Adhesive or have any questions about cleaning your tools, don't hesitate to reach out. We're here to help you make the most of our products and keep your tools in top condition. Whether you're a professional in the industry or a DIY enthusiast, we've got the adhesive solutions you need.
References:
- Industry best practices for adhesive tool cleaning
- Manufacturer's guidelines for Solvent Free Polyurethane Adhesive