

Hey there! As a supplier of laminate polyurethane glue, I often get asked by customers, "How do I know if laminate polyurethane glue is fully cured?" It's a crucial question because the performance of your project depends on the glue being properly cured. In this blog, I'll share some tips and insights to help you figure that out.
First off, let's understand what curing means in the context of laminate polyurethane glue. Curing is a chemical process where the glue changes from a liquid or semi - liquid state to a solid state. This transformation is what gives the glue its strength and bonding properties.
Time Factor
The most straightforward way to start checking if the glue is cured is by considering the time. Most laminate polyurethane glues come with a recommended curing time on the product label. This time can vary widely depending on factors like temperature, humidity, and the thickness of the glue application.
For example, in ideal conditions (around 70°F or 21°C and 50% humidity), a thin layer of our glue might take about 24 - 48 hours to fully cure. But if it's colder or more humid, the curing process can slow down significantly. You might have to wait 72 hours or even longer. So, my advice is to always read the product label carefully and note down the recommended curing time. Set a reminder if you have to!

Physical Appearance
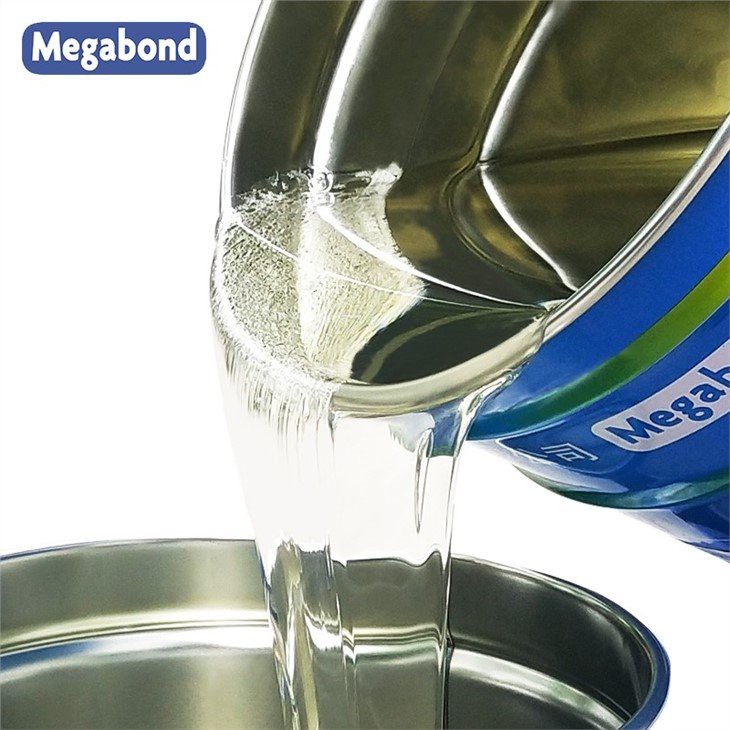
The physical appearance of the glue can also give you some clues about its curing status. When the glue is fresh, it's usually shiny and wet - looking. As it starts to cure, it will gradually lose that shine. Once it's fully cured, the surface of the glue will be dull and dry to the touch.
If you see any areas that still look wet or sticky, it's a sign that the glue hasn't cured yet. You might need to give it more time or check if the environmental conditions are affecting the curing process.
Touch Test
A simple touch test can be quite effective. But be careful! You don't want to damage the bond. Gently press your finger on a small, inconspicuous area of the glued surface. If your finger leaves a mark or if the glue feels sticky, it's not fully cured.
On the other hand, if the surface feels hard and doesn't deform under light pressure, it's a good indication that the curing process is well on its way or already complete. However, keep in mind that this test is not 100% accurate, especially if the glue has a soft - flexible finish.
Bond Strength Test
If you're really unsure about the curing status, you can perform a very gentle bond strength test. This should only be done on a sample piece or an area that won't affect the final product. Try to separate the two bonded materials very slowly and gently.
If the bond breaks easily, the glue probably hasn't cured properly. But if there's significant resistance and the materials stay firmly together, it's likely that the glue has cured. Just remember, don't overdo this test as you don't want to damage your project.
Environmental Factors
As I mentioned earlier, temperature and humidity play a huge role in the curing process. Low temperatures slow down the chemical reactions that cause the glue to cure. If it's too cold, the glue might not cure at all.
Humidity can also be a problem. High humidity can cause the glue to absorb moisture from the air, which can interfere with the curing process. In some cases, it can even cause the glue to form bubbles or become cloudy.
So, if you're working in a less - than - ideal environment, you might want to use a dehumidifier or a heater to create better conditions for curing. Our Solvent-based DMD Insulation Laminating Adhesive performs best in stable environmental conditions, so keep that in mind!
Chemical Resistance
Another way to check if the glue is fully cured is by testing its chemical resistance. Once the glue is cured, it should be more resistant to chemicals. You can perform a simple test by applying a small amount of a mild solvent (like rubbing alcohol) on a small area of the glued surface.
If the glue starts to dissolve or soften, it's not fully cured. But if it remains intact, it's a good sign that the curing process is complete. However, be careful when doing this test as some solvents can damage the materials you're working with.
Flexibility and Durability
If your project requires the glued joint to be flexible, you can test the flexibility of the glue once you think it's cured. Gently bend the bonded materials (within the limits of what the materials can handle). If the glue cracks or breaks easily, it might not be fully cured.
For durability, you can perform a light scratch test. Use a blunt object like a fingernail and gently scratch the surface of the glue. A fully cured glue should resist scratching without chipping or peeling.
Our Product Range
We offer a variety of laminate polyurethane glues for different applications. Our Solvent-based AL Copper Material Laminating Adhesive is great for bonding copper materials. It has excellent adhesion and a relatively fast curing time under normal conditions.
Our Solvent-based Door Panel PVC Metal Laminating Adhesive is specifically designed for door panel applications. It can withstand the stresses and environmental factors that door panels are exposed to.
Conclusion
Figuring out if laminate polyurethane glue is fully cured can be a bit tricky, but by considering factors like time, physical appearance, touch, and environmental conditions, you can get a pretty good idea. Always follow the manufacturer's instructions on the product label and be patient. Rushing the process can lead to a weak bond and a failed project.
If you have any more questions about our glue products or need help with the curing process, don't hesitate to reach out. We're here to support you in making your projects a success. Whether you're a DIY enthusiast or a professional in the industry, we have the right glue for you. Contact us to discuss your specific needs and let's start a great business relationship!
References
- Product manuals of our laminate polyurethane glue products.
- Industry research on polyurethane glue curing processes.